Adding Policies to Your Client Profiles in GloveBoxHQ
Easily add policies to a new GloveBox account to help clients and prospects manage their policies.
As a team member, you have the ability to add a policy manually for a client or prospect. This can be helpful to do if a policy didn't successfully import from your AMS, or when you're setting up a new client or prospect in GloveBox.
Add a Policy to a Client's GloveBox account
In GloveBoxHQ, navigate to the Clients tab, and locate the GloveBox account that you wish to update.
On the right side of the client profile page, select Add a Policy.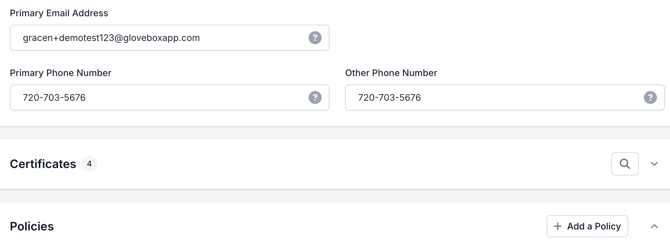
Next, select whether that policy will be a Personal or a Commercial Lines policy.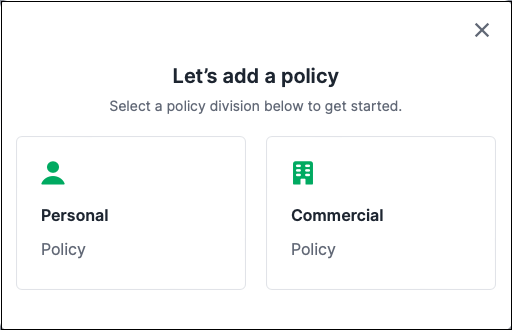
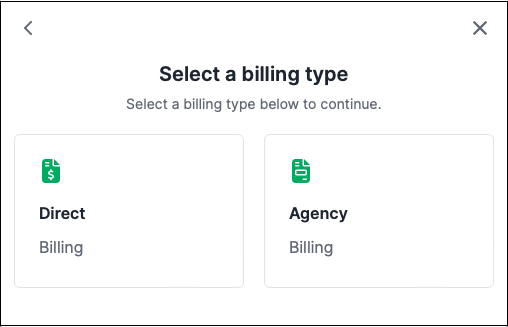
After selecting the policy division, select if the policy is Direct or Agency Billed.
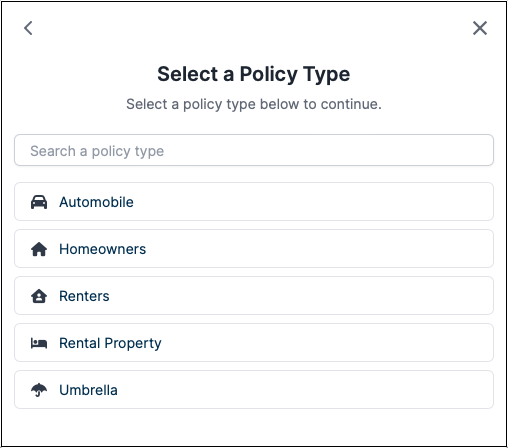
Next, select from the list or search and select the policy type.
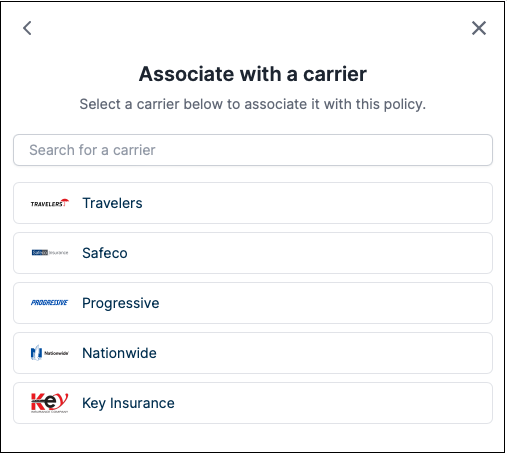
Finally, select from the list or search for the carrier to associate to the policy.
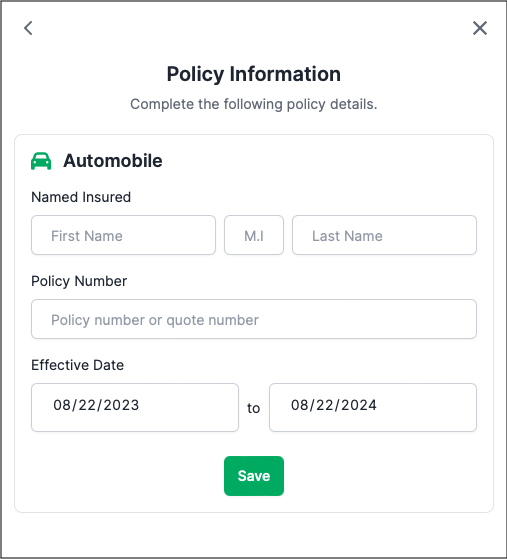
Make sure to complete the client information by adding full name, policy number and policy effective dates.
Once a policy has been created, you can upload policy documents to GloveBoxHQ for your client to access.

