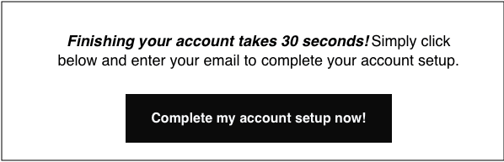
When the client receives an email invite from your Agency to claim their GloveBox account, they'll simply click the Complete my account setup now button in the email and it will auto-direct them to their default web browser.
Once on that webpage, all they need to do is click or tap, Activate your account.

They are prompted immediately to add their mobile phone number to ensure the account is secure by providing a second login form, but also to help us tie their account with your AMS data. While clients can do this later, we high suggest against that as it could lead to a duplicate account being created down the road.

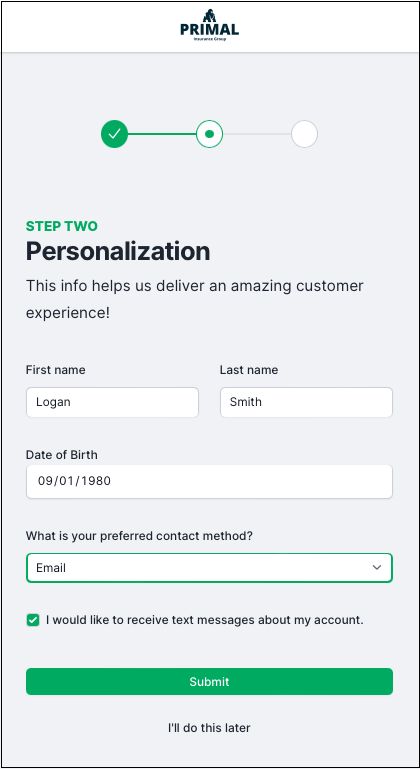
After completing the mobile phone number section, they'll be brought to the Personalization step which we'll ask them to confirm their name, type in their DOB or use the calendar selector to choose a date and then to pick their preferred contact method for you, their agency, to reach them at.
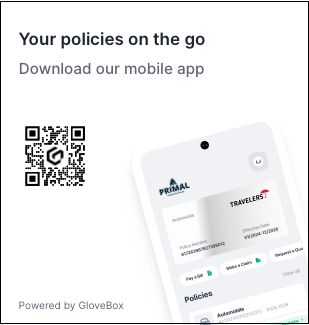
That's it! After completing that final step, they'll be presented with their ClientHub platform (on desktop or mobile web). From here they can add policies, file a claim, pay a bill, request a quote, request service, contact your agency, view any documents you may have uploaded for them and review and send your agency referrals. We also give them a QR code in ClientHub to scan with their mobile phone camera to ensure they download the GloveBox app to take all of their insurance on the go!