Adding policies to a client's GloveBox is the best way to reduce your agencies service burden. You can add a personal lines policy any time and with the new GloveBox Commercial Experience you are able to add commercial policies and certificates which will be viewable by the client in the same GloveBox experience they've come to know and love.
1. In GloveBoxHQ, navigate to the 'Clients' tab. If your client is already in your data, search for them and once that result returns, select it, which will take you to their 'Client Profile.' Alternatively, if this is a NEW client to your agency, please click here to view instructions on how to get them added.
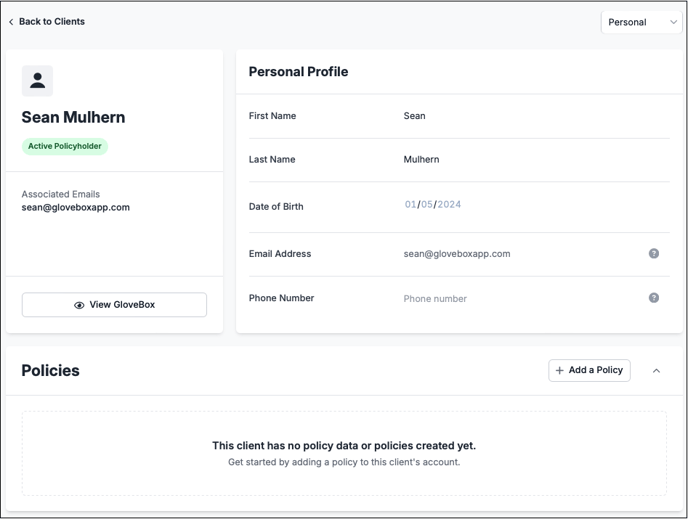
2. Inside the 'Client Profile' page, click on the ![]() button.
button.
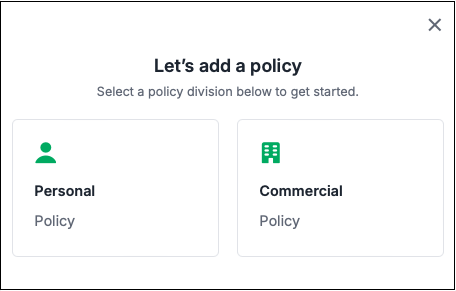
3. Next you'll see a box which lets you select Personal or Commercial policy types.
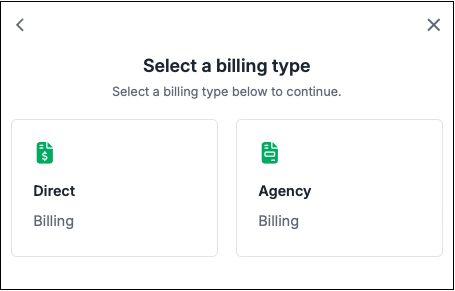
4. After selecting Personal or Commercial for the new policy, you'll be prompted to choose whether that policy will be Direct or Agent billed.
5. You'll then be prompted to select a carrier and policy type which you can do by selecting one from the list or simply searching. You'll then complete your client's information, name, Policy Number, and effective dates (which defaults to a full 12 month term).
That's it! Your client will now have their new personal or commercial policy available in their GloveBox for quick reference. Next, you may upload a document or add a certificate to their account for quick access as well. Articles explaining that process are found here: