To get started, head to GloveBoxHQ and navigate to the Clients tab. 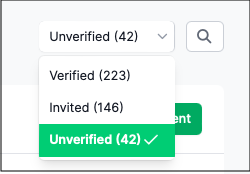 From the dropdown menu on the upper right side, next to the Search button, select Unverified.
This will show you all the AMS clients that have been imported into GloveBox from your initial launch. These are all clients who have not yet been invited, NOR signed up for a GloveBox account.
From here, you may select any client which will take you to their Client Profile page. All AMS clients already have a Client Profile created at launch and you can edit their name, DOB, AND invite the client as well. First, you'll want to add their carriers and policies if the data hasn't already been pulled through.
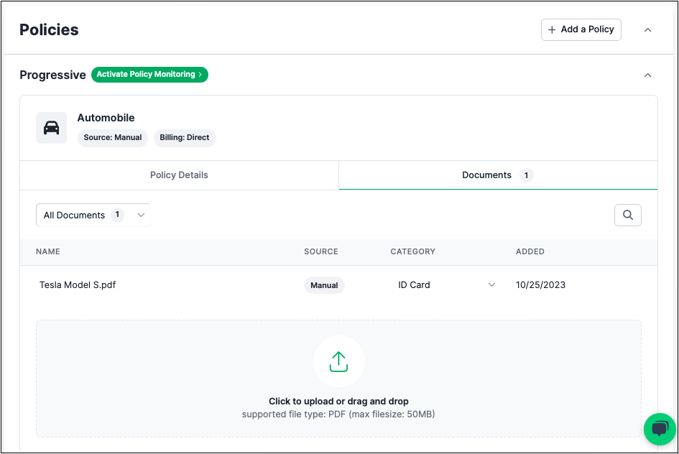
Make sure you add all their policy info, and upload all policy documents so when the client is invited and logs in, their GloveBox is ready to go. This also helps reduce the amount of emails a client receives when a document is uploaded as they currently get one email per document uploaded. If this is done before they are invited, the client will only receive one email notification.

Note: If a policy that has been manually added by the carrier is eligible for Policy Monitoring, this information will override the manually entered data as the carrier is the ultimate source of truth that GloveBox displays.