
Below are the instructions to create your Client List reports, which is what GloveBox uses to pull in data from the Special Agent AMS.
Step 1: Access Reports within Special Agent
Step 1: Access Reports within Special Agent
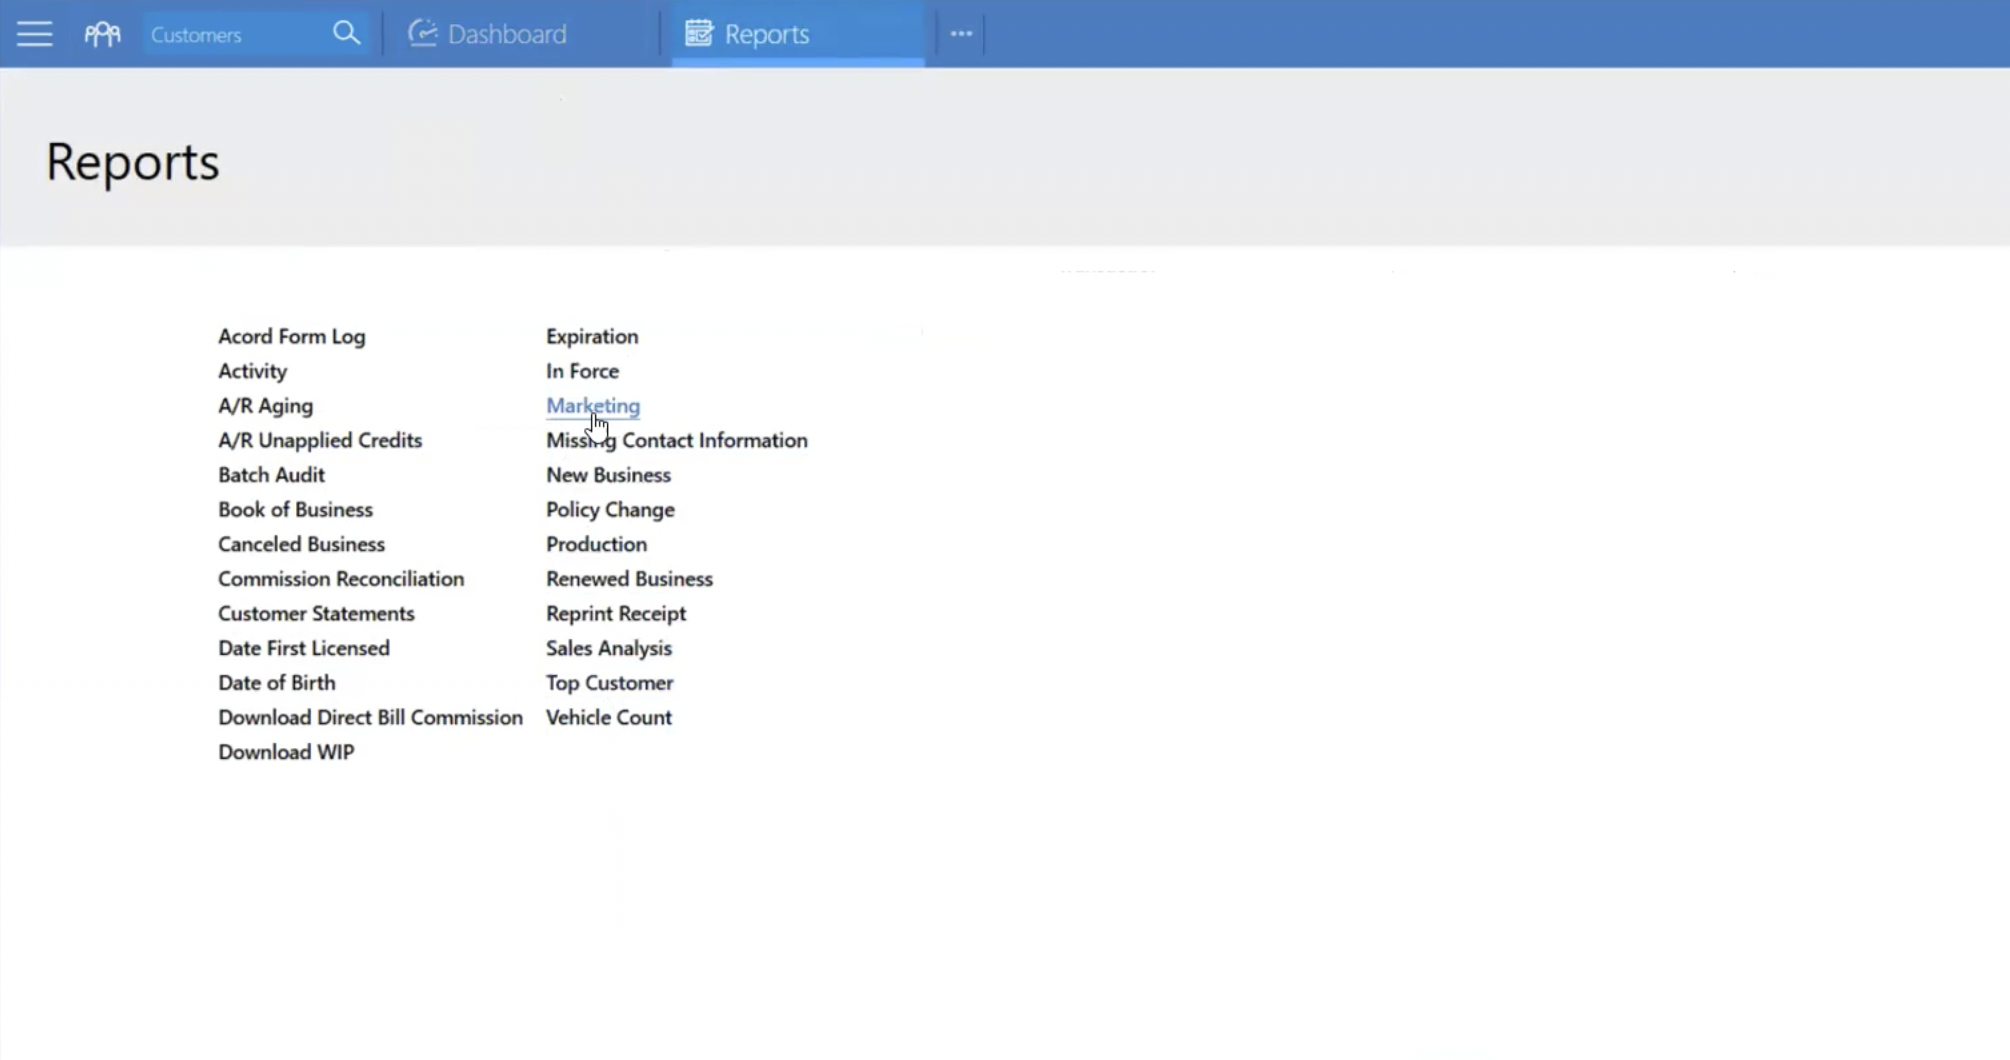
Open the Special Agent application. On the top right, click on the 'menu button.'
- Click on 'Reports' at the bottom of the menu.

- Choose 'Marketing' from the list of reports.
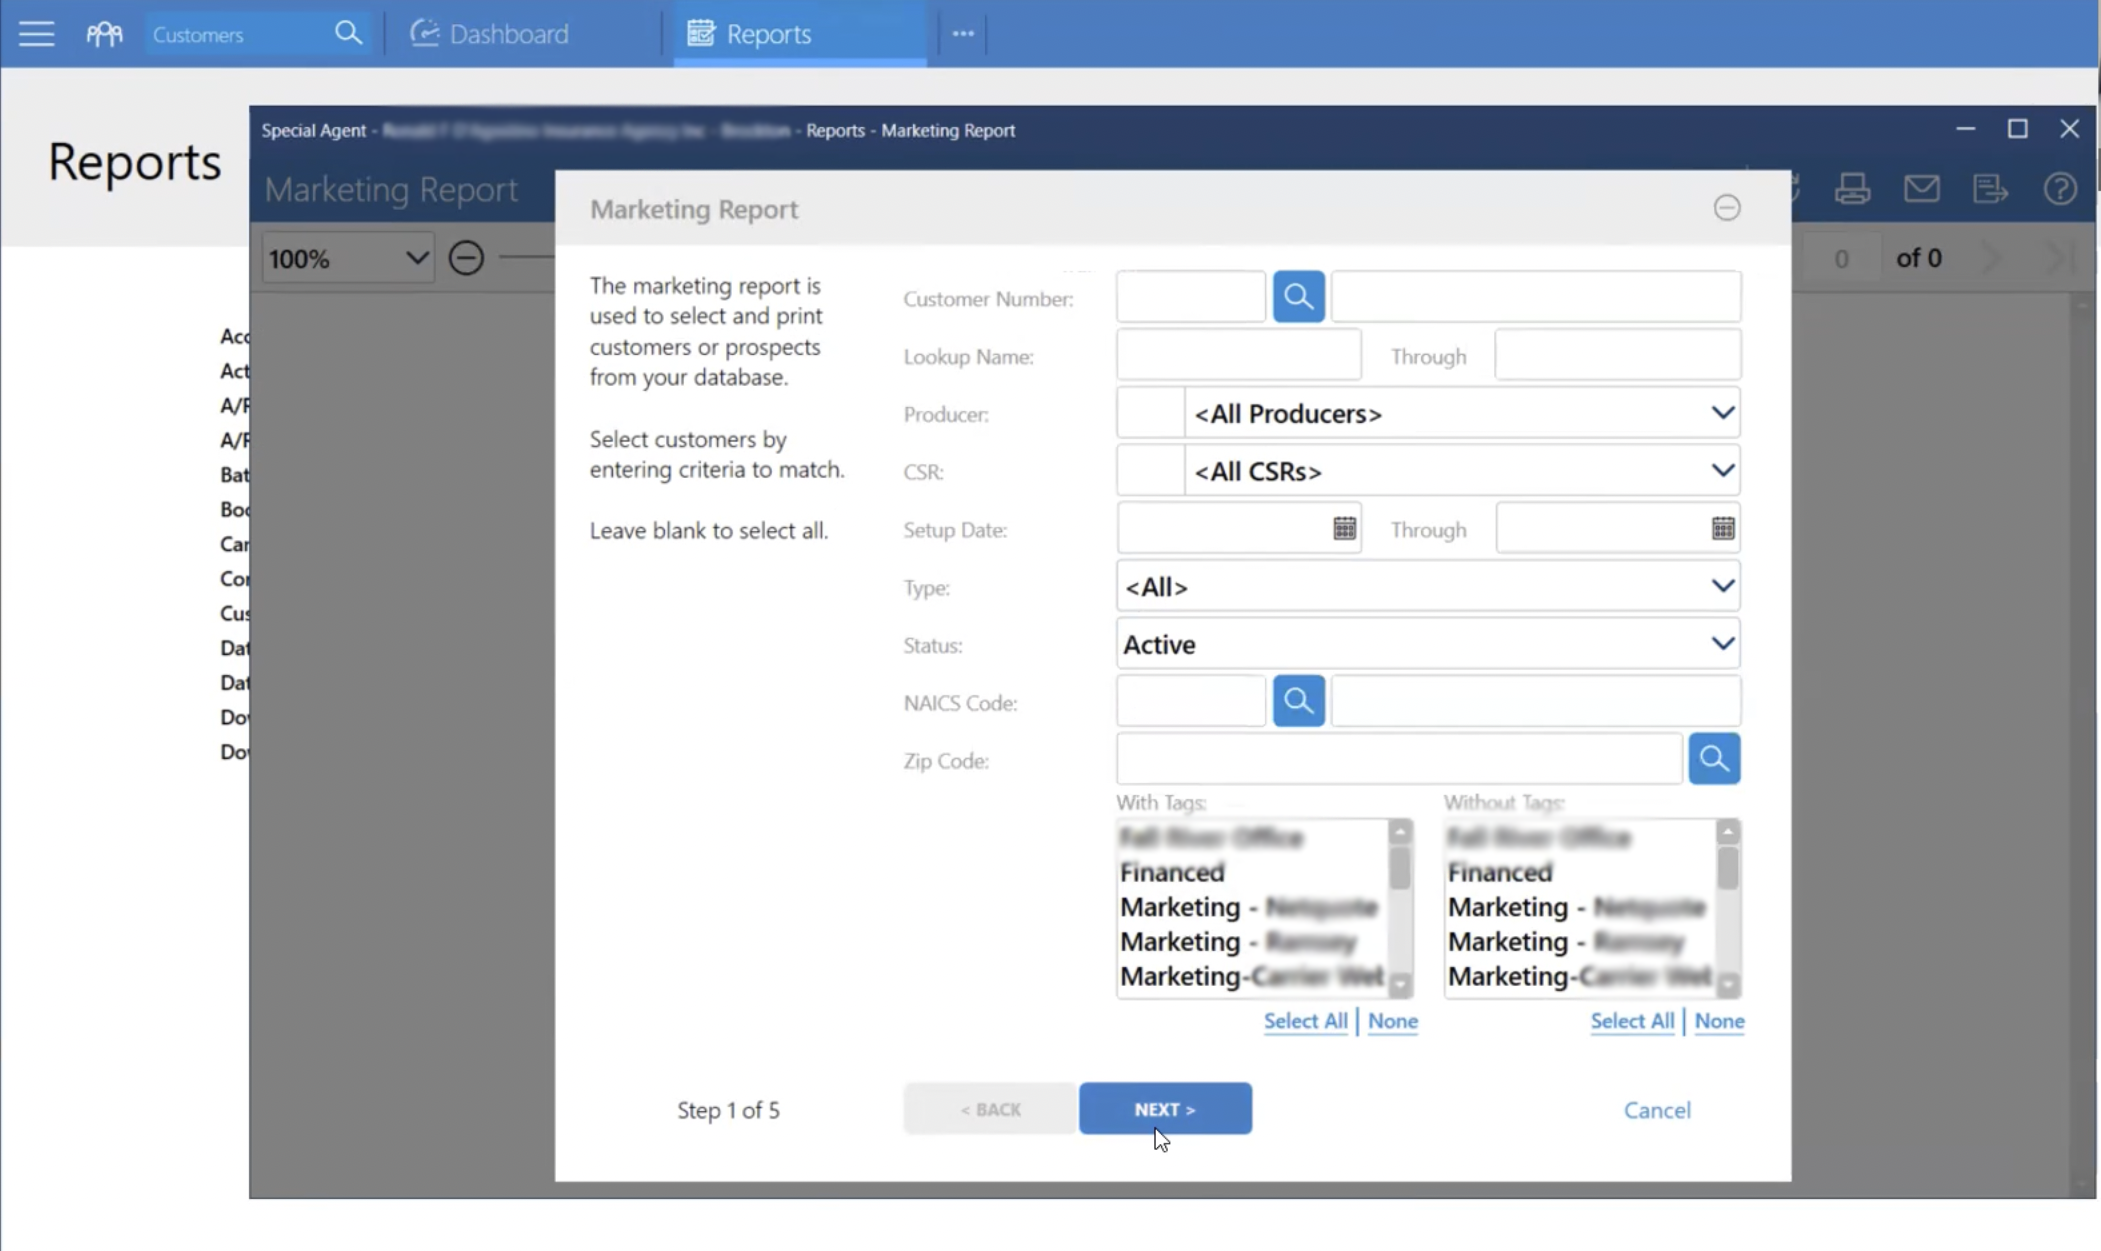
First, set Report Status.
- In the Marketing Report pop-up, click on 'Status.'
- Select 'Active' from the drop-down. Then, select 'Next.'
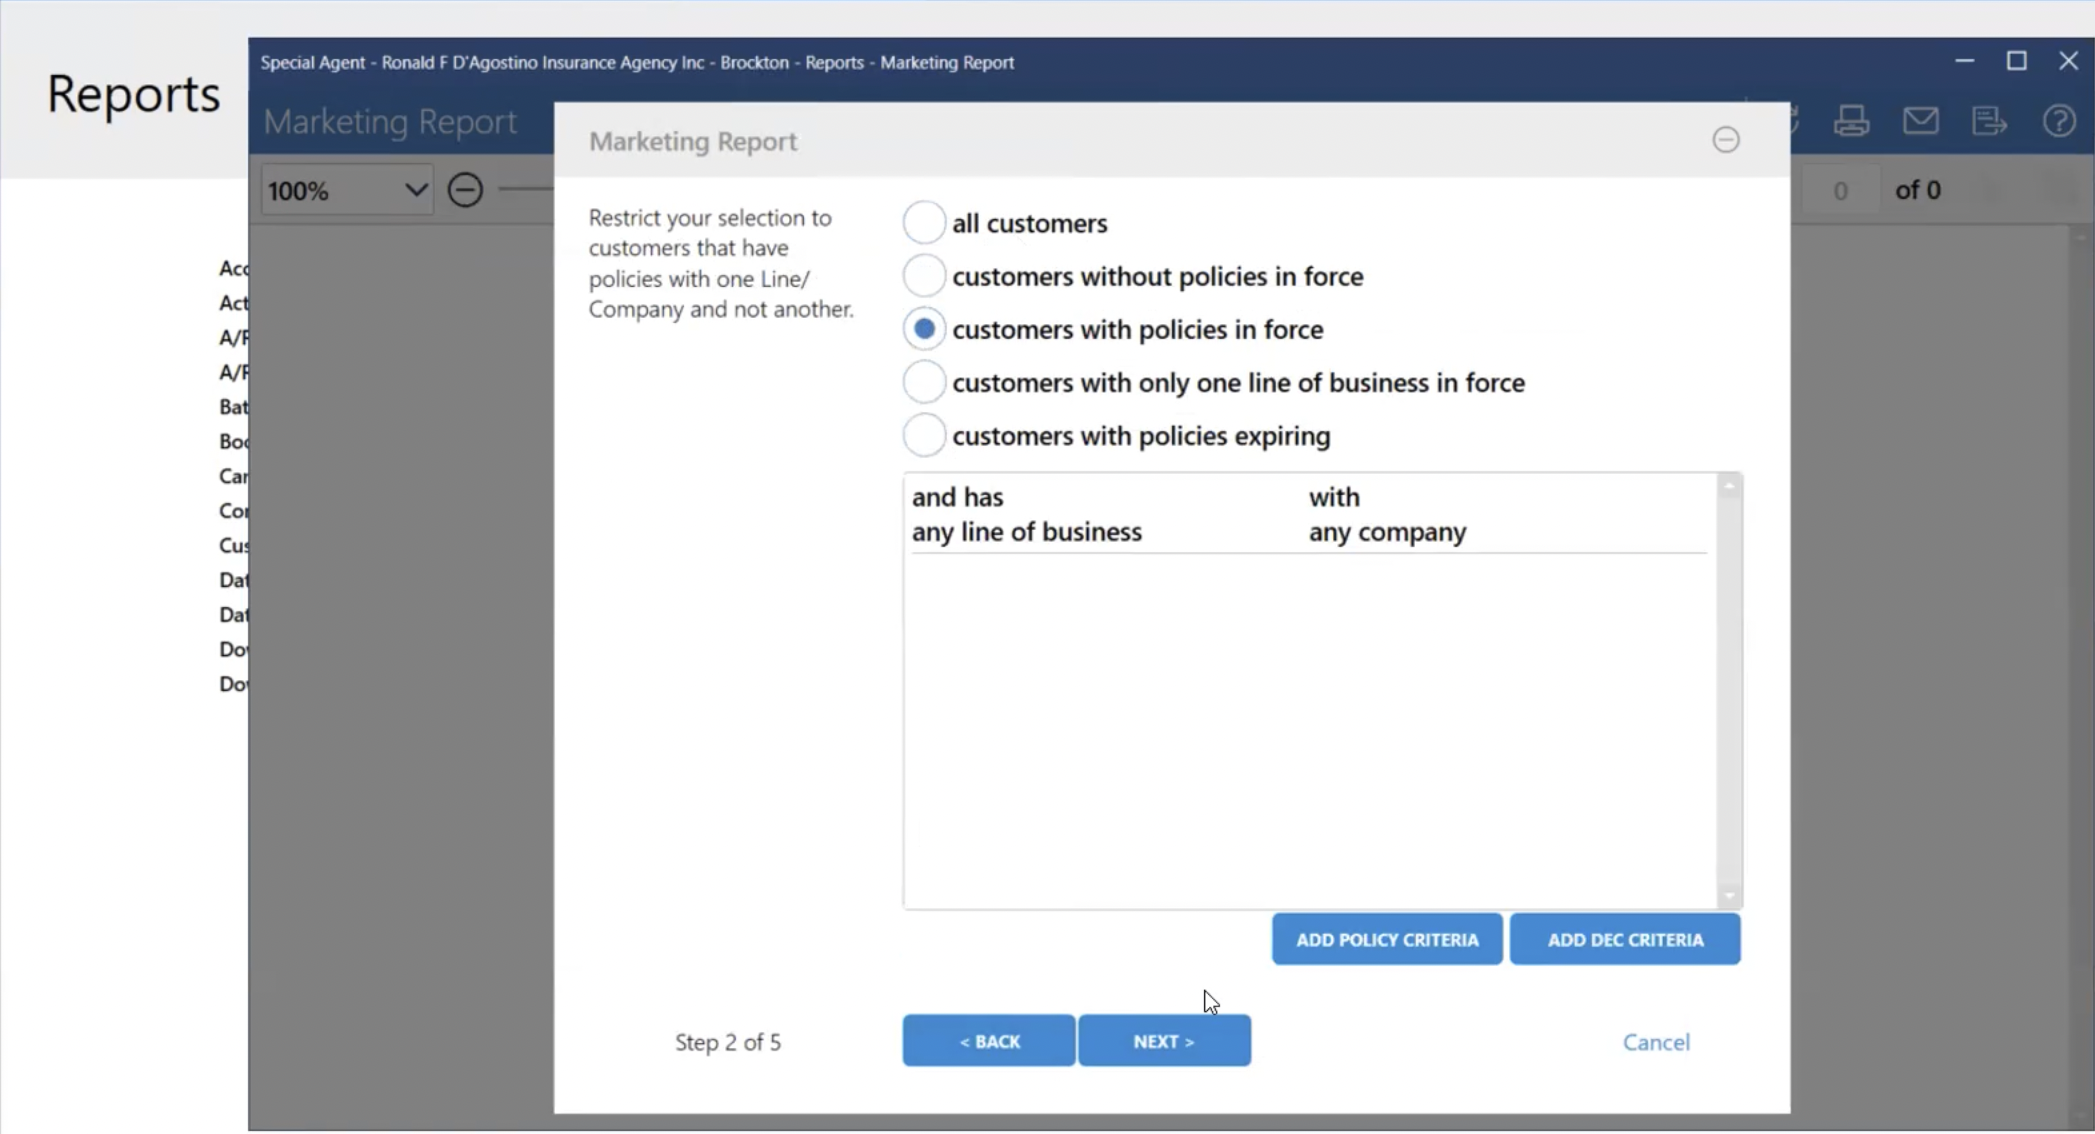
- Choose 'Customers with policies in force.' Then, select 'Next.'
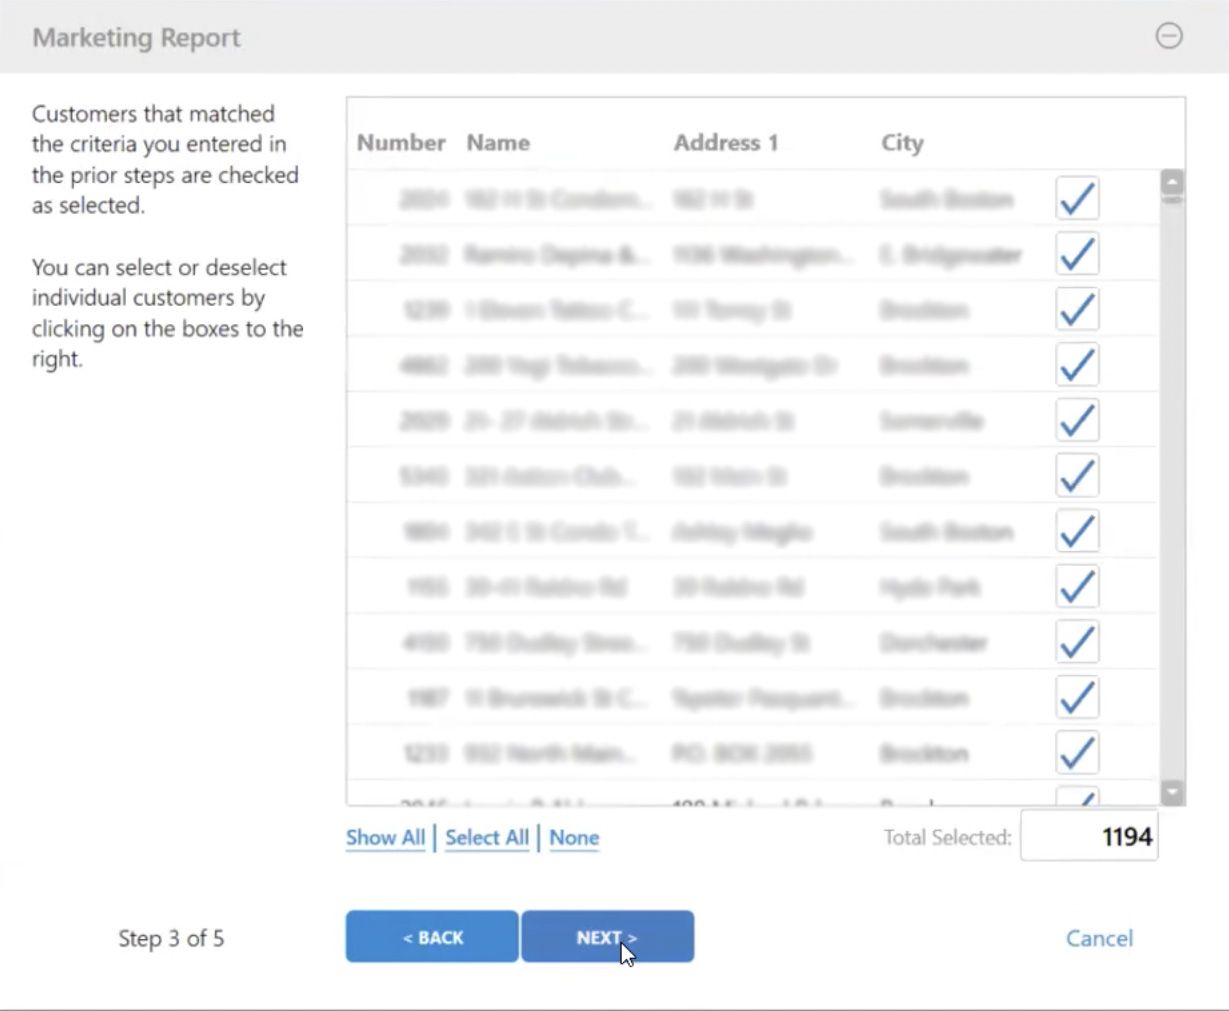
- Review the data shown to confirm it is correct. Then, select 'Next.'
- Select 'Export All Customer Data (Excel).' Then, select 'Next.'

- Sort based on 'Customer Name' and 'Customer Number' as shown below.
- Click on 'Export.' This will download the report to your computer.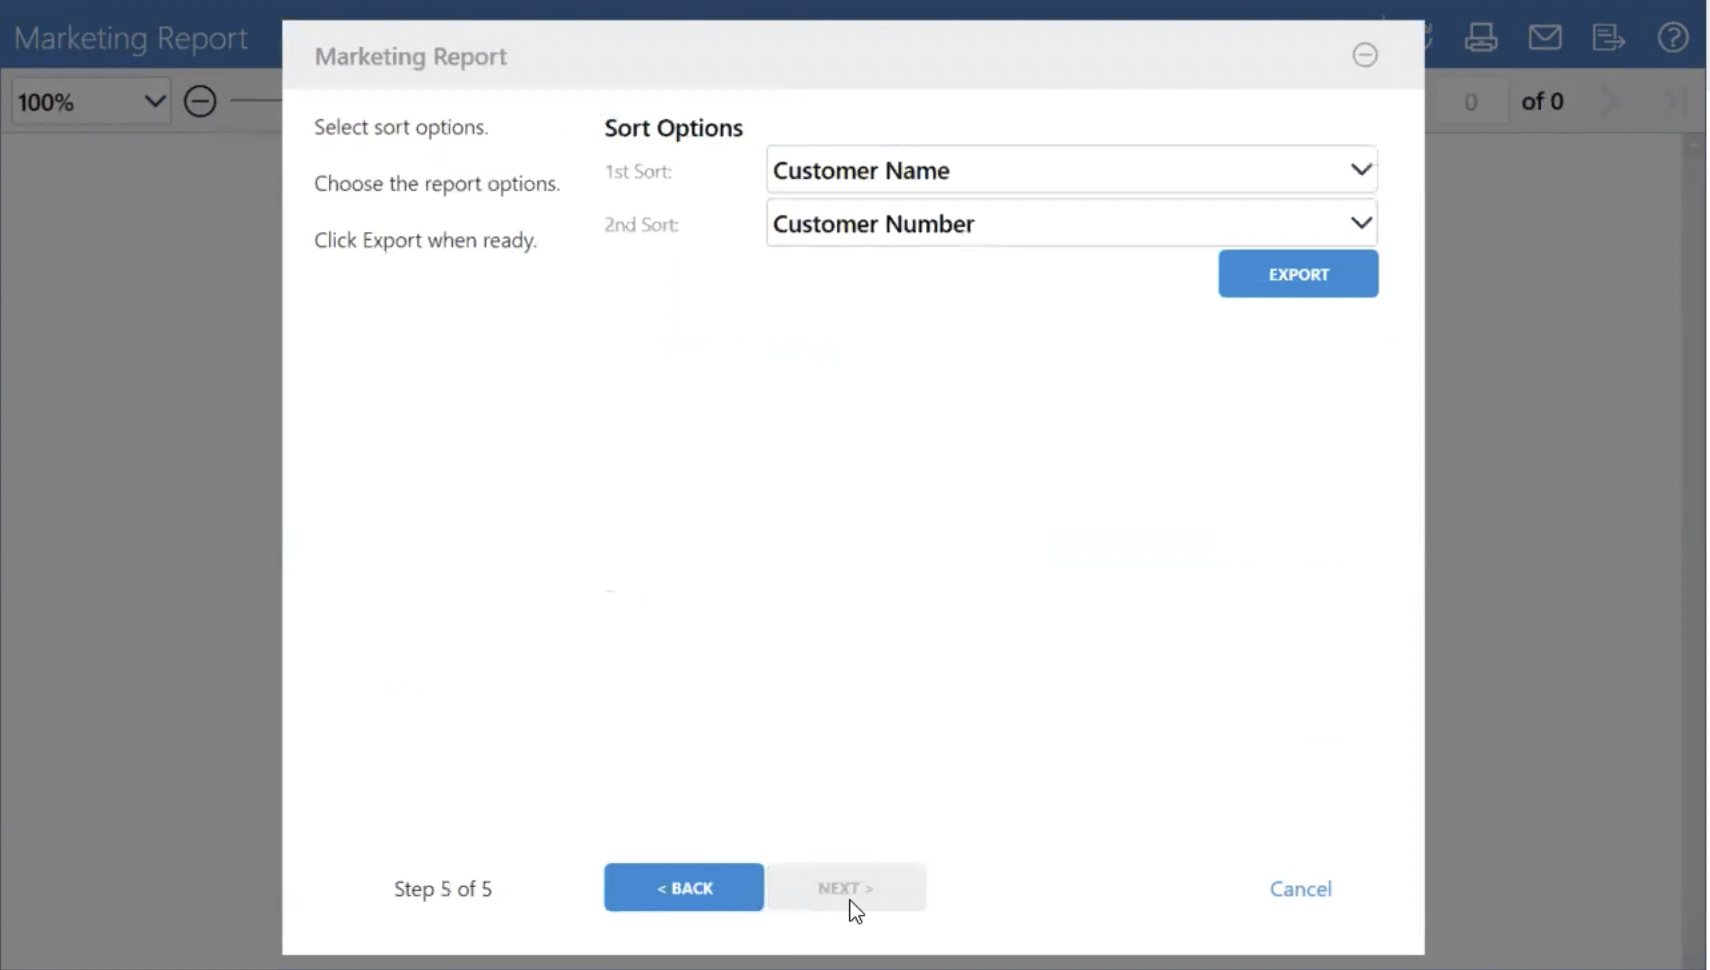
First, Save the Downloaded CSV File.
- Select an appropriate location on your device to save the exported CSV file.
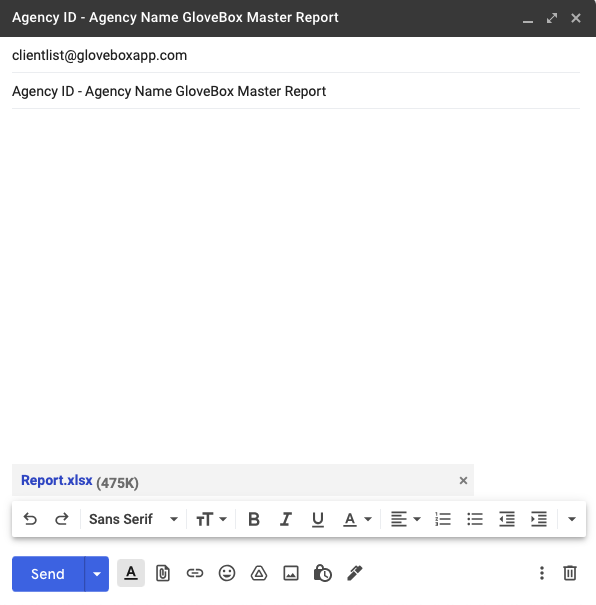
- Open your email and create a new message. Attach the exported report.
- Send the email to clientlist@gloveboxapp.com.
- Use the subject line: [Agency_ID] - [Agency_Name] GloveBox Master Report.
- Click 'Send.'
Consistency is important when sending your client list reports manually. Emails sent to GloveBox should always have the same subject line and should be sent from the same email address.
If you change the subject line or sender address, please let GloveBox know so that we can effectively import your list in a timely fashion.
Step 4: Schedule the Report
Select a Date and Time to run the report each week. You can run the report and send it to GloveBox as frequently as you'd like, but GloveBox requires an updated list at least once per week.
- Add a task or calendar hold for yourself as a reminder to send the list.