
Updating a Client's Contact Information
Client contact information is one of GloveBox's more nuanced features because contact information in the AMS is how a GloveBox profile is created.
If a client needs their contact information modified, consider the following:
- Does the customer still have access to their old contact information?
- How urgently does this client require access to GloveBox?
If the client has access to their old contact information and needs immediate access, ask the insured to sign in to GloveBox using their old contact information. Once signed in, they can modify their contact information from within ClientHub or the Mobile Apps.
If the client doesn't need immediate access, then modify the contact information in your AMS. The next time GloveBox completes your data import (typically nightly), a new profile with the correct contact information will be imported into GloveBox.
Note that by default, the old profile will not be deleted.
Agency staff members do not have the ability to delete a GloveBox profile at this time, however, you're welcome to send any old profiles to your customer success manager for deletion.
Finally, if the client requires immediate access and does not have the ability to use their old login information, create a new profile for them manually and add in their policy information and documents.
Updating a Contact's Name
The name that GloveBox will use to display on the account is imported from your AMS. To modify the account name, search for the customer and click into their profile.

Reasons you may want to update a contact name include:
- Instances where the incorrect or incomplete name was imported from the AMS
- Connecting a personal contact to their business account
- Connecting spouses or family members together
- Improving searchability inside of GloveBox
To make a change, select the first and last name fields and type in your updates. Note that the name you update will need to fit into these fields, and they are both required.
Adding a business name is a good option to ensure that you can locate an account if the client tells you their personal name or their business name when you're searching.

Adding a spouse's name can be helpful in the event that the spouse is also listed on the account and they are the person calling your agency.

This can also be helpful for individuals who don't share a last name, but are tied to the same policy.

After modifying the name, be sure to save any changes by clicking the save button or hitting enter on your keyboard.
Updating a Policy's Named Insured
In addition to an account name, each policy tied to an account will list a named insured. You can also modify the named insured when needed.
Locate the policy you'd like to update. When you're hovering over the policy, a 3-dot menu will become available on the far right.

Choose the option to edit. In the window that appears, make your adjustment to the named insured field, then save.

If the policy is a commercial policy, the option to include a business name along with a named insured will also be available.

You can modify these if you'd like, and if a business name is entered, that is what will display on the policy. 

Adding a Policy
Occasionally, a policy may not display at all in GloveBox due to an error in the AMS. However, you can always add it in when needed.
In GloveBoxHQ, navigate to the Clients tab, and locate the GloveBox account that you wish to update.
On the right side of the client profile page, select Add a Policy.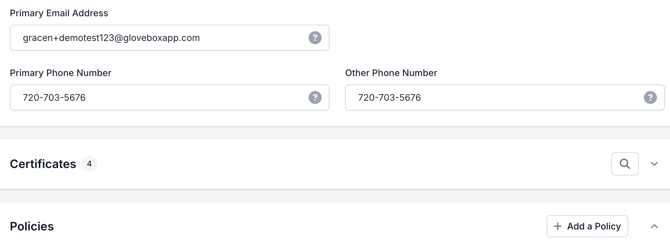
Next, select whether that policy will be a Personal or a Commercial Lines policy.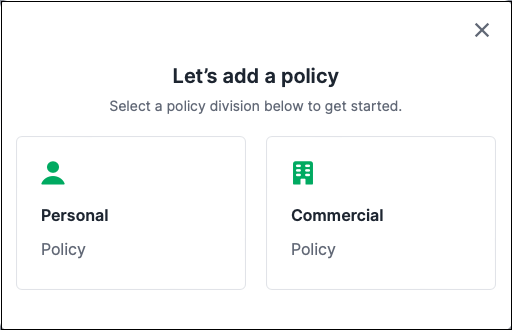
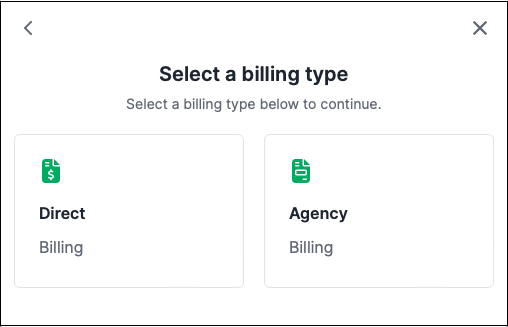
After selecting the policy division, select if the policy is Direct or Agency Billed.
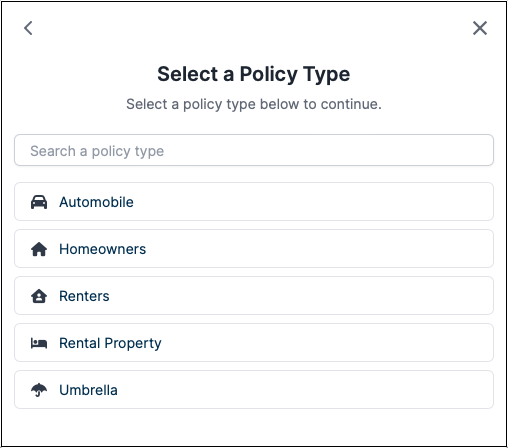
Next, select from the list or search and select the policy type.
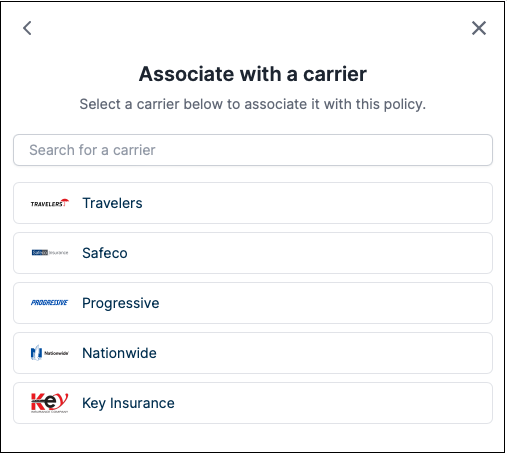
Finally, select from the list or search for the carrier to associate to the policy.
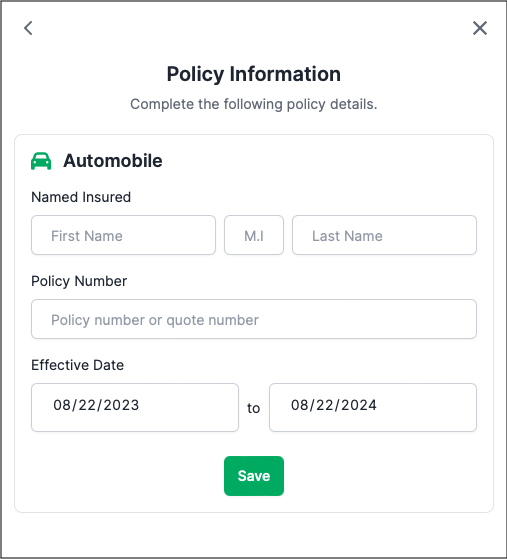
Make sure to complete the client information by adding full name, policy number and policy effective dates.
Once a policy has been created, agency team members can upload policy documents to GloveBoxHQ to share with their client.
Updating a Policy
Policy information is imported from your AMS or added manually. Since the pipeline that ingests your AMS data has to make assumptions (for instance, policy type AUTO-12345 needs to map to auto), there may be times where you want to make an update to better reflect a policy for your insured.
To update a policy, hover over it until the 3-dot menu appears. Choose the edit option.

In the window that opens, you'll have the option to adjust the policy type, named insured, and effective dates. Note that you will not be able to modify the policy number if the policy was imported from your AMS.

Save any changes.
![]()